First, select from the table below whether you want to edit an invoice or create a new one. To do this, click on the corresponding link.
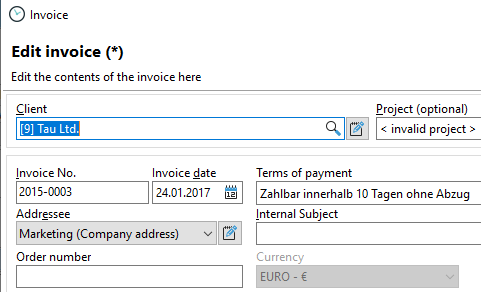

Right-click on the selected project and select "Write invoices" to create a new invoice via the "Invoice" dialog box. Assign your invoice to a customer and a project. The invoice will then be linked to the project and saved in document management under the project. You can edit all fields except for the "Print date" field. The date on which the invoice was printed is automatically entered here. You can also edit the invoice template.

For free invoice items and when integrating service templates, you can change the prices by double-clicking.

Double-click in the "Price" column.

|
Caution when changing the price manually |
|---|---|
Please note that if you change the price manually, the calculated costs in Xpert-Timer will no longer match the total price of your invoice. |
|
If you want to transfer the time stamps that have not yet been billed to the project or customer, use the "Open times" button to display any open times.

All timestamps that have not yet been marked as "billed" will be displayed. All timestamps that have been marked as "not billable" will also be displayed. These non-billable timestamps are shown in square brackets and are not included in the total number of hours. This view is used to check that you have not accidentally forgotten to bill any timestamps.
You can now choose whether to transfer the individual time stamps to the invoice or to display the total amount in one item. To do this, right-click on the red data record.

In the next step, a dialog box opens with the following options:

Only times that have a price stored are transferred to the invoice. If you also want to show the customer goodwill or warranties, you must attach a timestamp list to the invoice.

You can send your invoice directly by email from this window, save it as a PDF, or print it on paper to send to the customer.
From this dialog box, you can also add additional billing items to the invoice. To do this, select the appropriate item from the drop-down menu. You can choose between:
•Add free invoice items: Here you can enter free services, such as travel expenses for a project.
•Add items from the service catalog: Here you can create a new invoice item with additional service items, e.g., from other subprojects.
•Add billable project services: If you have already entered services for a project, you can add them using this function.
•Add time stamps to be billed: If you want to add up and bill the time stamps from, for example, March 1, 2018, to March 31, 2018, select this option.

You can also use this dialog to add a heading or free text to your invoice. You can also create a subtotal and insert a separator line or page break. Just try out the different options.

As soon as you save and close, the invoice is printed and can be stored in the document management system under the project.
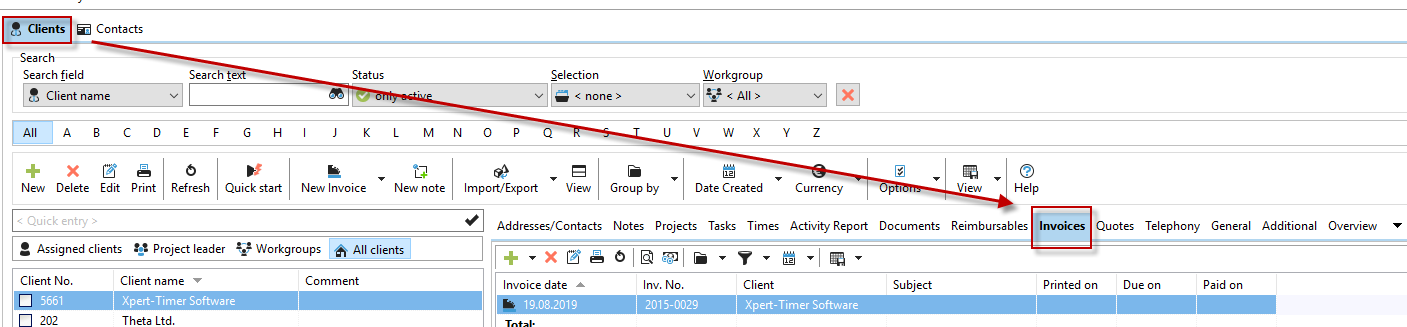
If you now double-click on the customer, you will see the invoice listed in the "Invoices" tab.

In the next step, you can right-click on an invoice to mark it as "paid" and enter the payment date.

To keep track of paid or open invoices, you can filter by invoice status.

You can also view the invoices in customer management.
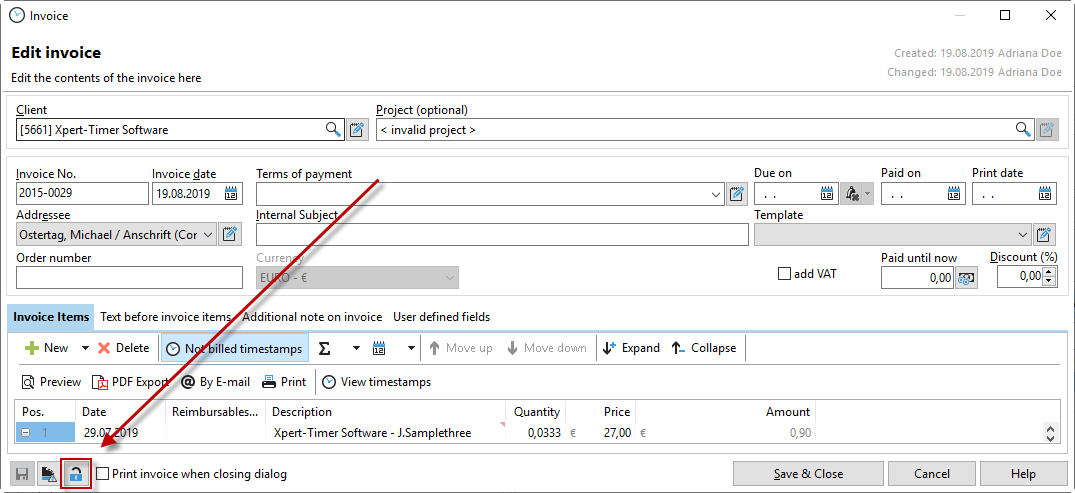
In the "Edit invoice" dialog, you can change the entry data for an invoice. Pay attention to the lock icon at the bottom of the dialog. If the lock is closed, the invoice is read-only and you must first click on the icon. You can only make changes when the lock is open. When editing an invoice, please also note the information listed above, including manual price changes.