To install Xpert-Timer, please download the latest version from the website: http://www.xperttimer.de/download.
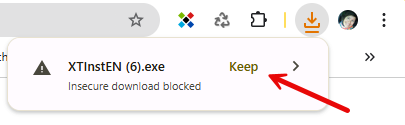
Some browsers check the download and indicate that this download file is unsafe. You can safely ignore this and select: Keep. The program download will then continue.
For Xpert-Timer Basic, run the file XTInstBasicDE.exe.
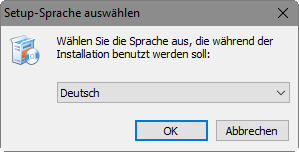
Select your language and click "OK." The language setting at this point refers to the license agreements:
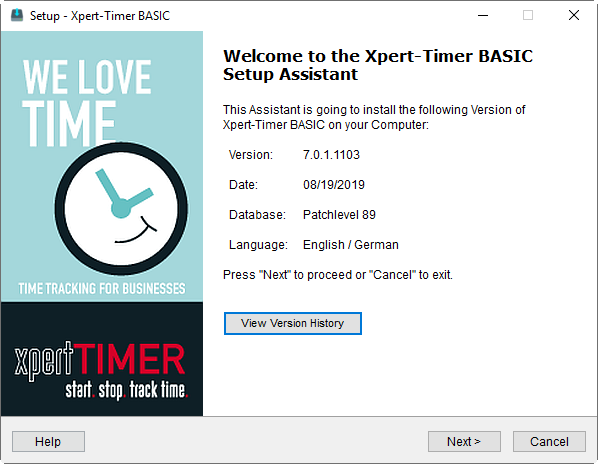
The installation wizard will start and display the version number and the current date. In the version history, you can see what changes have been made to the software over time.
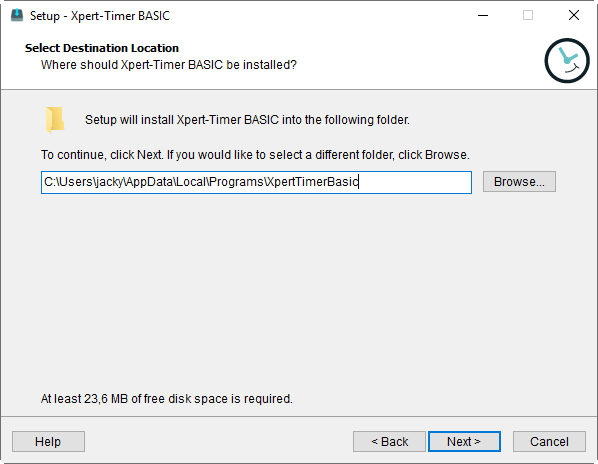
The installation wizard automatically checks whether Xpert-Timer is already installed on your system or whether this is a first-time installation. By default, the installation takes place in the "Programs" folder on your system. From Windows 10 onwards, it is installed in C:\Program Files (x86). You can also specify a different folder instead. To do this, click on "Browse" and select a different folder, or enter a path manually.
If there is already an installation in the specified path, Xpert-Timer will treat the setup as an update. If there is no installation yet, the 30-day trial version will be installed.

You can test Xpert-Timer in full for 30 days. After the 30-day period has expired, you can continue to use the data you have entered up to that point if you decide to purchase the full version.
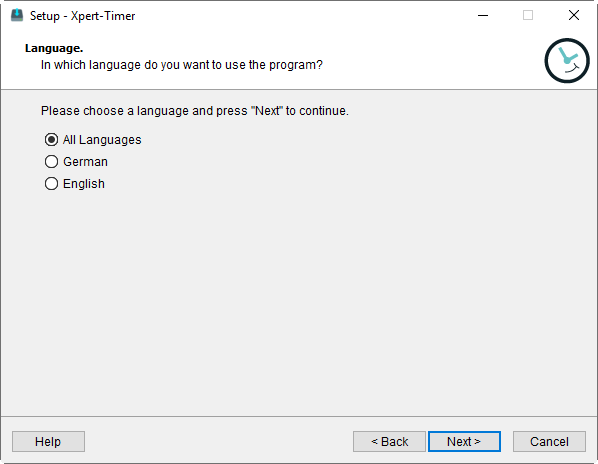
In the next step, you can select the language of the program interface. In Xpert-Timer, you can then select the appropriate language later via the "Program" menu item.
|
|---|
Xpert-Timer Basic comes with an SQLite database as standard. If necessary, you can also run the software with a Microsoft Access database. |
Language selection
Select the languages in which you want to install Xpert-Timer. The program has a menu item that allows you to switch between languages.
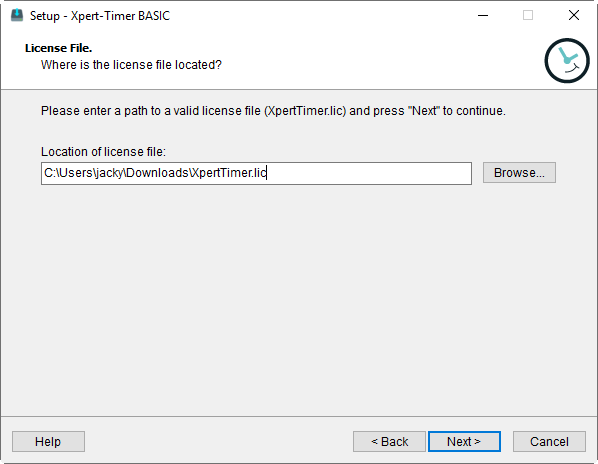
Path of the license file (for "full version" installation)
If you already have a full version of Xpert-Timer and have reinstalled the program, you will be asked for the path to the XpertTimer.lic file in the second step of the installation. Enter the corresponding path now. After you have imported the license file, please rename or delete the file. If the file remains in the installation folder, Xpert-Timer will recognize this file every time it is started and will repeatedly attempt to send a registration message.
If you have a multi-user installation, you still only need to import the license file once.
Select the target path for the database
If you are using a file-based database such as MS Access or SQLite, you will be prompted to specify the target path of the database in the next step. The database file is called xt.sqlite for SQLite and xt.mdb for Access. Make sure that you have full write access to the path. Starting with Windows 10, access to C:/Program Files (x86) is restricted. Therefore, it is better to save the database in your document folder or on a network drive.
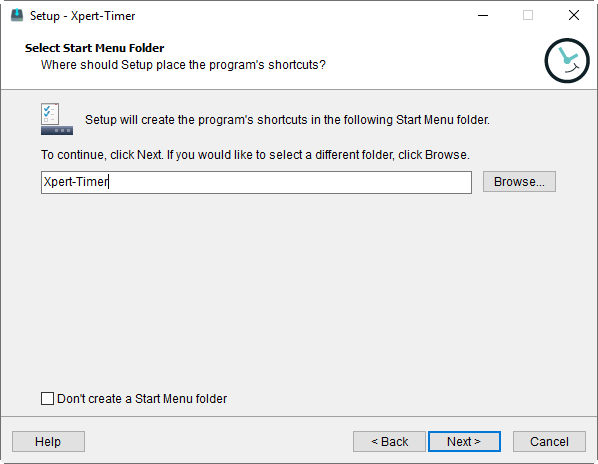
In the penultimate step, specify whether you want to create a shortcut to Xpert-Timer in your Windows Start menu. We recommend this, as it makes it easier to start the program.
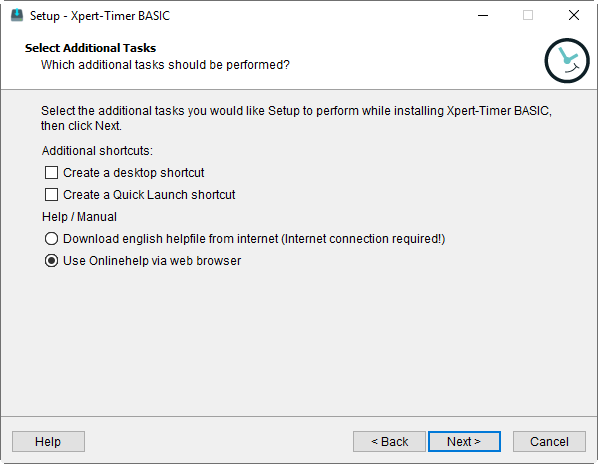
Now choose whether you would also like to create a desktop icon and an icon in the quick launch bar. We also recommend doing this.
Our manual is available both online on the Internet and offline in the program. Decide which version you would like to use.
ATTENTION: Sophos users must deactivate the runtime compression of the program, otherwise the installation of Xpert-Timer will be blocked by the Sophos virus scanner.
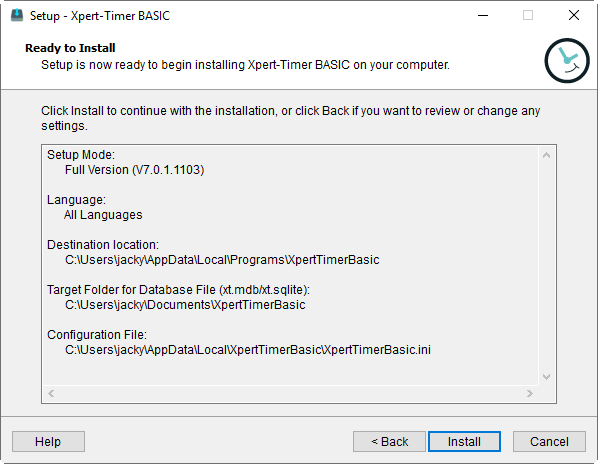
The overview shows you all the data you have entered again. Click Install to install Xpert-Timer on your system.
Xpert-Timer will now be installed and automatically started after the installation routine is complete.
|
Tip |
|---|---|
Be sure to read our tips and tricks for Xpert-Timer. |
|